

How To Install Linux Kernel In Windows 10
 Source: Windows Fundamental
Microsoft dropped enough of jaws when information technology launched the Windows Subsystem for Linux, a way to run bodily Linux within Windows without the need to ready a virtual machine. The projection has seen a ton of support, and WSL2 is the latest and greatest.
It takes things a piffling further and adds yet more than awesomeness to the Linux experience on Windows 10 and Windows 11. If yous haven't yet checked it out, here's how to get started.
Simplifed setup of WSL2 on Windows 10 and Windows 11
 Source: Windows Central
There is now a new, extremely simplified way to get WSL2 up and running on your Windows ten and Windows 11 PC. The only requirement is that you're running version 2004 of Windows ten and above. If this sounds like your system, ensure y'all've also downloaded the optional KB5004296 update, as well, every bit information technology's the one that enables this feature.
Once this is in place, open up up PowerShell and enter this command:
wsl --install
That's it. The setup process will begin and yous tin can relax until it'south finished.
If yous don't have the necessary version of Windows 10 installed to follow the simplified setup, the existing, much longer method still works.
How to enable Windows Subsystem for Linux
Before you can go WSL2, you need to accept WSL. That may sound slightly strange, but the methods of enabling the first iteration and the second are quite different. But to have the newest version, you first need to have the first. There's no direct path to just installing WSL2.
We have a full guide on getting ready with the Windows Subsystem for Linux, which y'all should bank check out for a full primer on getting started, but if you're looking for the quickest route, in that location's a single line of lawmaking to enable it on your machine.
Open PowerShell as administrator and enter this control:
dism.exe /online /enable-feature /featurename:Microsoft-Windows-Subsystem-Linux /all /norestart Somewhen, you volition need to reboot your PC, only y'all tin can leave it until later if you're going direct to installing WSL2.
How to install WSL2 on Windows ten
 Source: Windows Cardinal
At present you have the Windows Subsystem for Linux enabled. It's time to download and install WSL2. The latest iteration is essentially a tiny virtual motorcar that boots up in seconds and has a proper Linux kernel at its core. And that's why the installation differs a little from enabling regular old WSL.
In that location are also a couple of pre-requisites for using WSL2 on Windows 10. You demand to be on the following versions:
- For x64 systems: Version 1903 or higher, with Build 18362 or higher.
- For ARM64 systems: Version 2004 or higher, with Build 19041 or higher.
If you have anything lower, you'll need to run Windows Update before going any farther.
Bold that'due south all good, the rest is straightforward.
Enabling Virtual Auto
If you don't already have this enabled, yous'll need to plow information technology on before installing WSL2. As already stated, WSL2 is a tiny virtual machine, so Windows needs to be prepared for that. If you take this enabled already, skip and go straight to rebooting your PC to make certain y'all're ready to install.
The quickest fashion to practise it is in PowerShell. Open up PowerShell as administrator and enter this command:
dism.exe /online /enable-feature /featurename:VirtualMachinePlatform /all /norestart Now reboot your PC and move to the next section.
Downloading and installing WSL2
The side by side part takes merely a couple of steps.
- Download the WSL2 Kernel update.
- Run the installer.
- When prompted for elevated permissions, click yes.
Once the installer has done its thing, yous'll now have WSL2 successfully installed on your PC.
Setting WSL2 for your Linux distros
The good matter about WSL2 is that it doesn't replace WSL. Information technology just runs alongside it. This means you tin run Linux installs with a combination of different versions. Y'all're able to set either as default equally well as setting a version specifically to each Linux distro you have on your PC.
Let's pause downwardly some of the central commands to use in PowerShell that you'll need to know.
Setting WSL2 every bit default
 Source: Windows Central
If y'all want everything to run on WSL2 equally soon every bit you install it, yous tin can prepare it as the default version.
wsl --set-default-version 2 Listing installed Linux distros and their WSL version
 Source: Windows Fundamental
With WSL2 set as default, whatsoever Linux installs after that will use it automatically. You tin easily check which version of WSL your installed Linux distros are using.
wsl --listing --verbose Using the verbose flag volition requite you the breakdown of which version of WSL is attached to which Linux installation. Without information technology, you'll merely get a list of the versions of Linux yous take installed.
Changing the version of WSL per Linux installation
 Source: Windows Primal
While setting WSL2 equally default will use it to anything you install afterward. If you're already ready, you lot'll demand to manually catechumen. Likewise, if you wish to go betwixt versions 1 and 2 or run a mixture on your system, y'all tin can exercise that.
wsl --set-version <distribution name> <versionNumber> And so, every bit an example, if you have a Debian installation on WSL that you lot demand to convert to WSL2, you'd enter wsl --set-version debian two.
Launch specific Linux installations in PowerShell
 Source: Windows Central
If you just have i version of Linux installed, simply typing wsl in PowerShell volition launch you into the associated bash shell. Merely if y'all have multiple, yous tin launch a specific distro with this command.
wsl -d <distribution name> One time you're done, typing exit will have you dorsum into PowerShell.
From here on out, you're set up to go forth and install all the Linux you desire. Our full guide will help you along the fashion, just once WSL2 is set upwardly how you like it, it merely fades into the background.
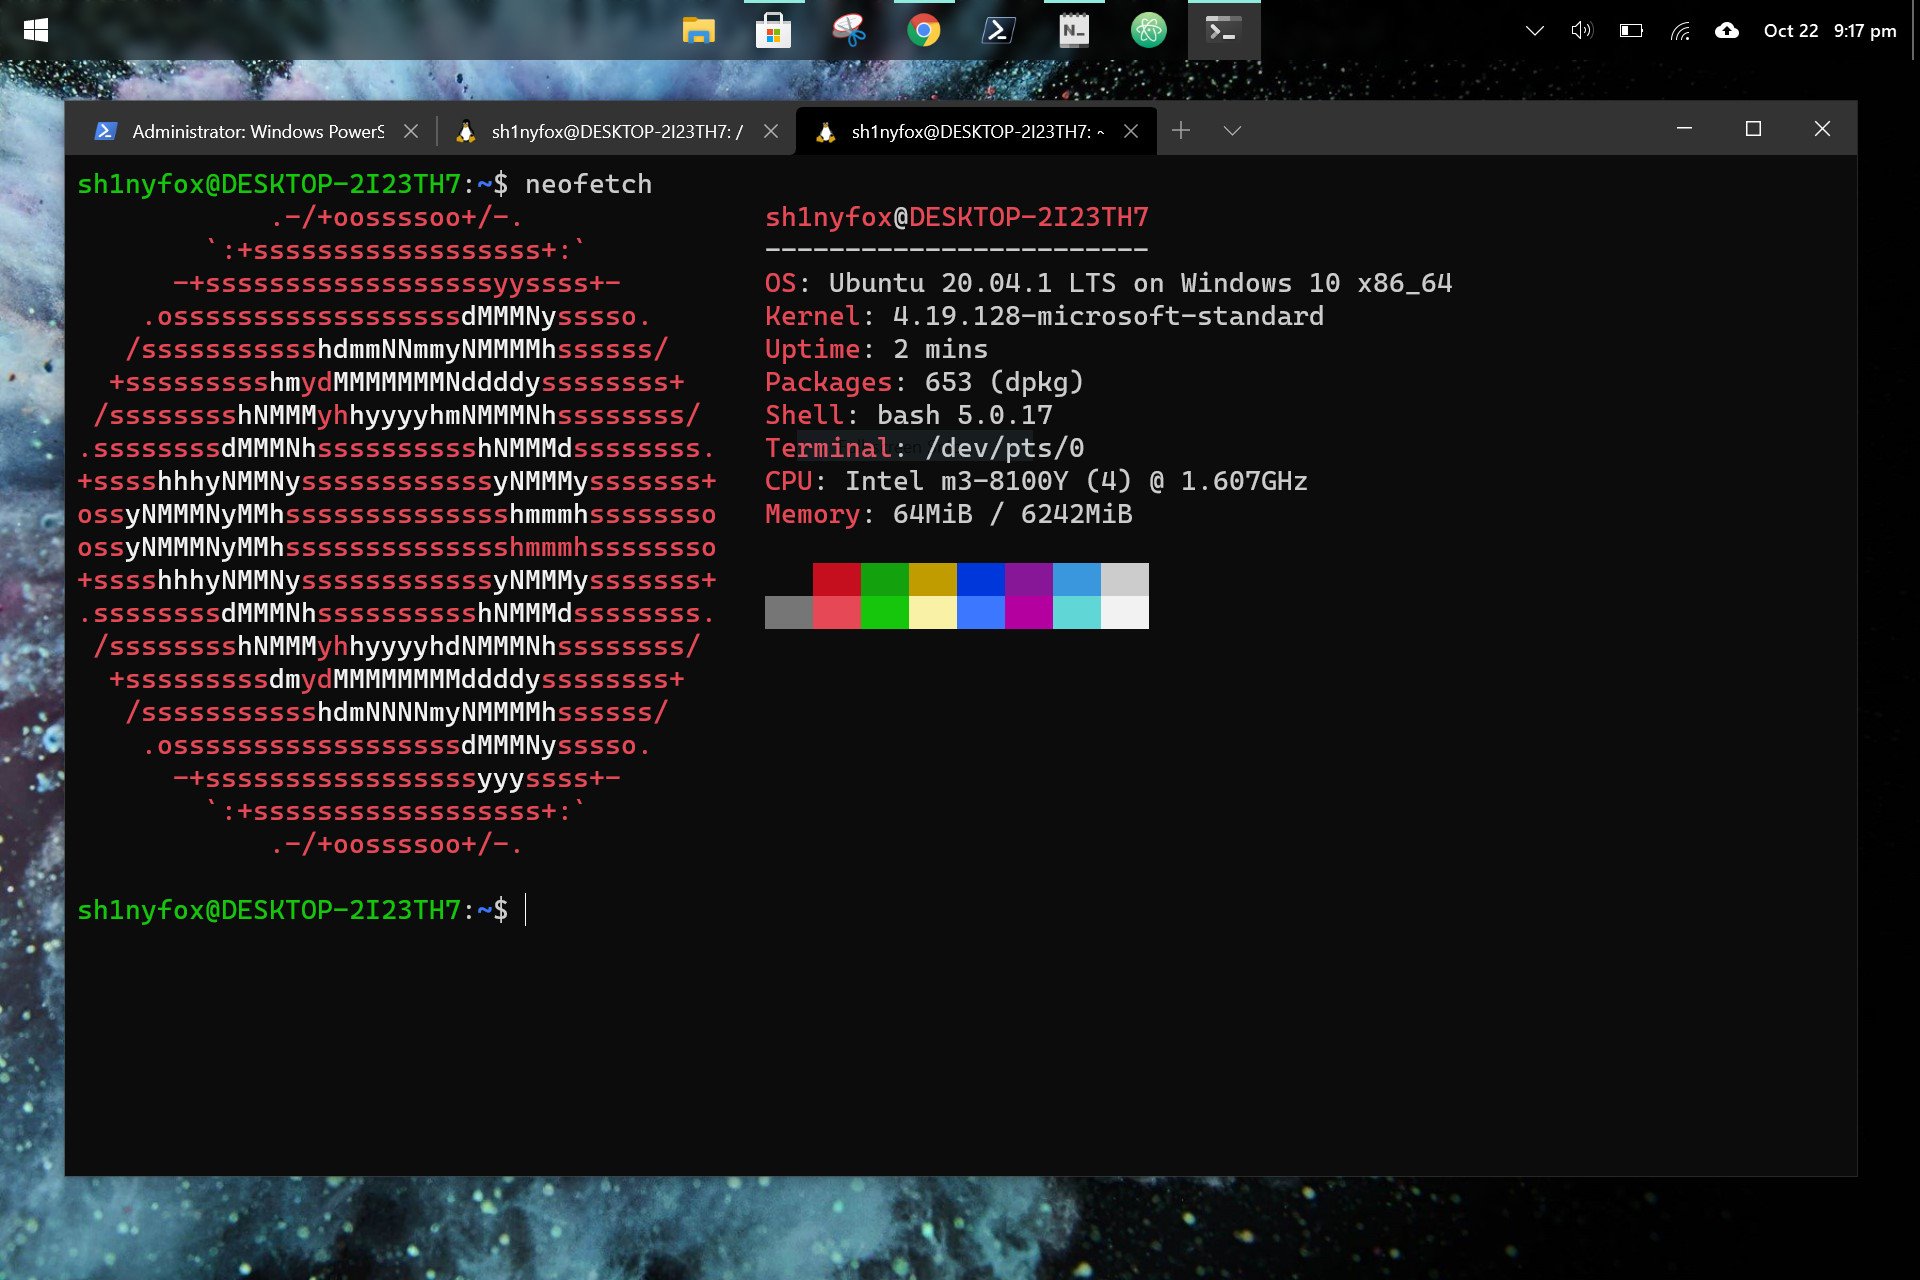
It's also worth grabbing the Windows Terminal app from the Microsoft Shop if yous're using WSL. While you can just use the standard terminal installed with each or launch through PowerShell as shown in a higher place, Windows Terminal has a nifty tabbed interface that lets you lot run multiple shells at once. Take PowerShell, Linux, Azure Deject Shell, even Command Prompt, all open together side-by-side in one window.
Fancy terminal
![]()
Windows Concluding
Microsoft's new modernistic, open-source terminal application.
Whether you're into theming or but desire to run a agglomeration of different shells side-past-side, the Windows Terminal application tin can do information technology all.
Nosotros may earn a commission for purchases using our links. Learn more.

FRESH LORE
Ancient Windows 1.0 Easter egg unearthed, features Gabe Newell
But when yous idea the lore vaults of ye olde Windows 1.0 had been exhausted, a new entry appears. And information technology gets fifty-fifty more exciting: This particular nugget of knowledge contains a reference to none other than Valve'southward very own Gabe Newell.

Source: https://www.windowscentral.com/how-install-wsl2-windows-10
Posted by: beasonunth1951.blogspot.com
0 Response to "How To Install Linux Kernel In Windows 10"
Post a Comment